How to Set Your Company Logo
Add your own company logo to appear on reports. This feature is available after purchasing the full version via in-app purchase, or if you are using the Plus (Paid) version.
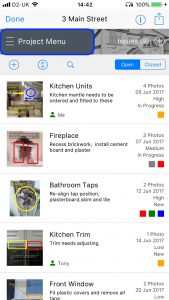
1 Select the project you want to edit
Tap on the project from your projects list.

2 Tap the Project Menu
Tap the menu button to access project options.
3 Tap Project Details to access the details page
Select Project Details from the menu to open the details editor.

4 Scroll down to the Auditor Company Logo section
Scroll down through the project details to find the company logo section.
5 Tap the logo image, choose your desired action and select your new logo
Tap the logo placeholder to choose a new logo from your photo library or camera.
6 Tap Done to save changes
Tap Done to save your company logo and return to the project.
Setting a Default Company Logo
The current logo can be set as the default logo for all projects.
After completing the above steps, tap the logo image again and select Set as Default Company Logo.
The current logo can be set as the default logo for all projects.
After completing the above steps, tap the logo image again and select Set as Default Company Logo.
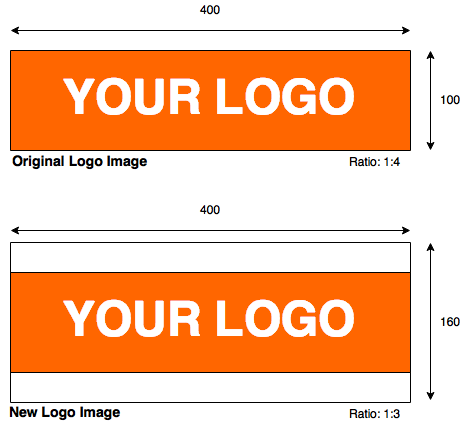
Tip: The logo will crop if its width exceeds the height by more than a 3:1 ratio. Use image editing software to place logos in appropriately sized frames to prevent unwanted cropping.